Automated Disaster Recovery Testing
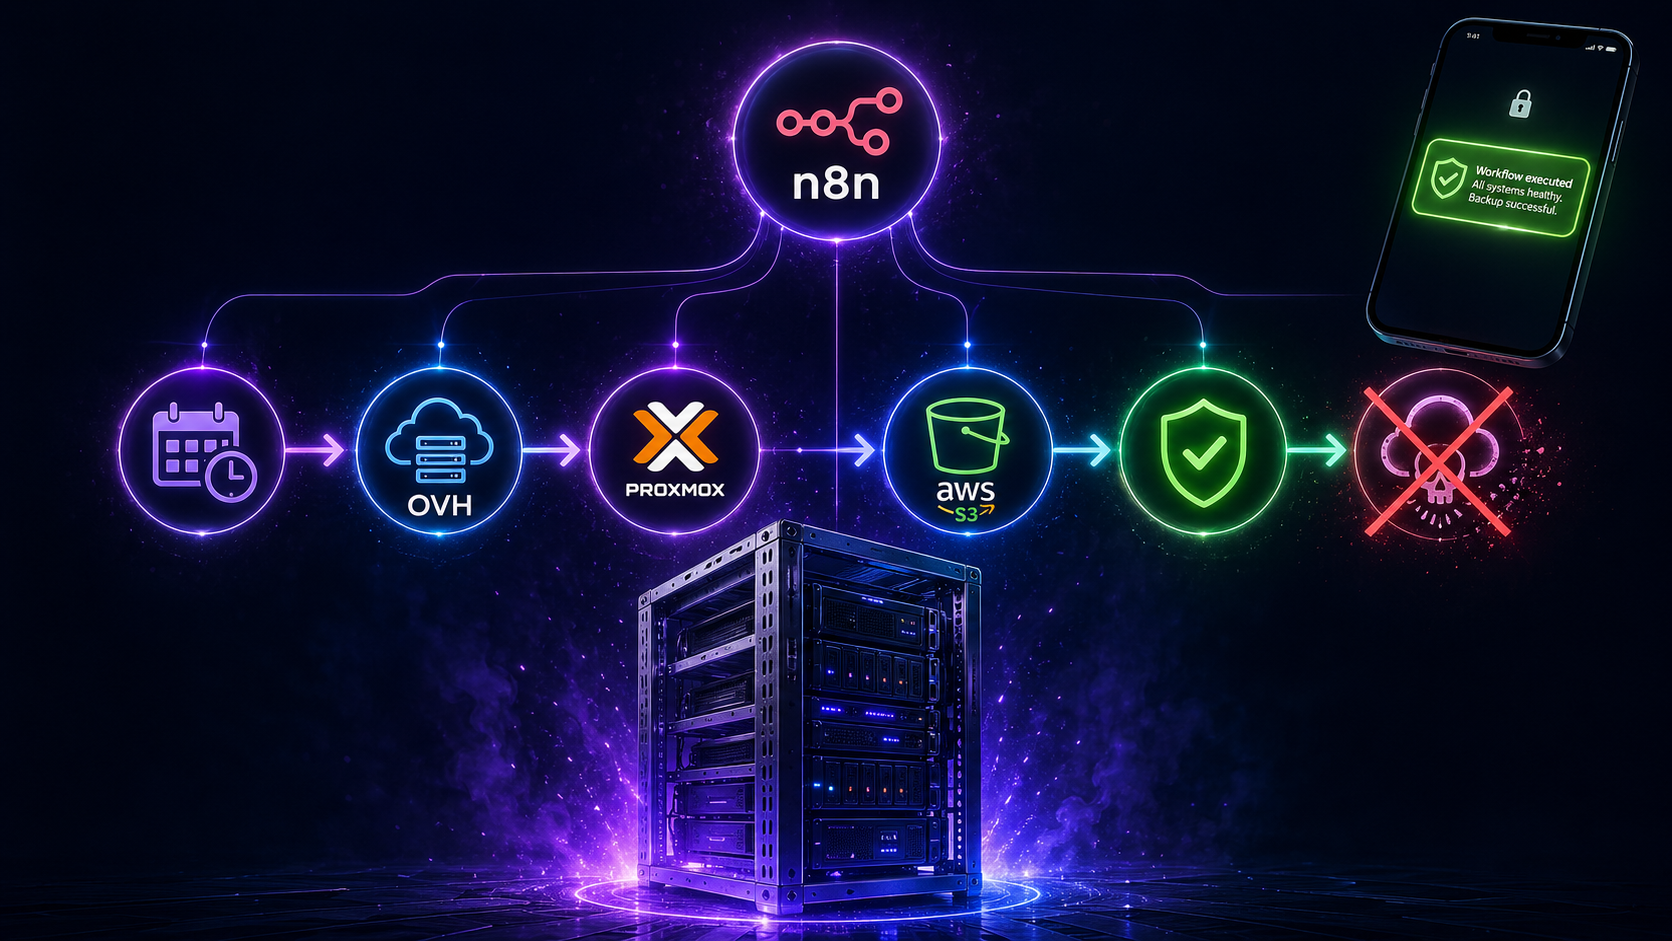
A fully automated monthly disaster recovery test that spins up a bare metal cloud server, installs Proxmox, restores my entire homelab from S3 backups, validates every service, and tears itself down. All orchestrated by n8n.
Here’s a question that kept nagging me: I have weekly backups running like clockwork, syncing to S3 every Saturday. But have I ever actually tried to restore from them? Do I know for certain they work? What if the day comes when I desperately need them and they turn out to be corrupted, incomplete, or just plain broken?
The honest answer was no. And that felt like a problem worth solving properly. So I built a fully automated disaster recovery test that runs itself once a month, proves my backups actually work, and then disappears without leaving a cloud bill behind. Let me walk you through it! 😄
The problem with backups nobody tests
Most homelab guides stop at “set up backups and sync to S3.” That’s a great start, but a backup you’ve never restored is really just a hope. In a real disaster recovery scenario, the absolute worst time to discover your backup is incomplete or your restore process is broken is when your server is already dead and you’re in a panic.
I wanted something more rigorous. I wanted to prove, every single month, that if my physical server caught fire tomorrow, I could rebuild everything from scratch with nothing but my S3 bucket and a new machine.
What the test actually does
The whole thing is orchestrated by n8n and runs on a temporary OVH Metal Instance (bare metal cloud server) that costs about €0.50 per hour. The entire test takes roughly 20 minutes from start to finish, costing about €0.25 per run. Which is nothing!
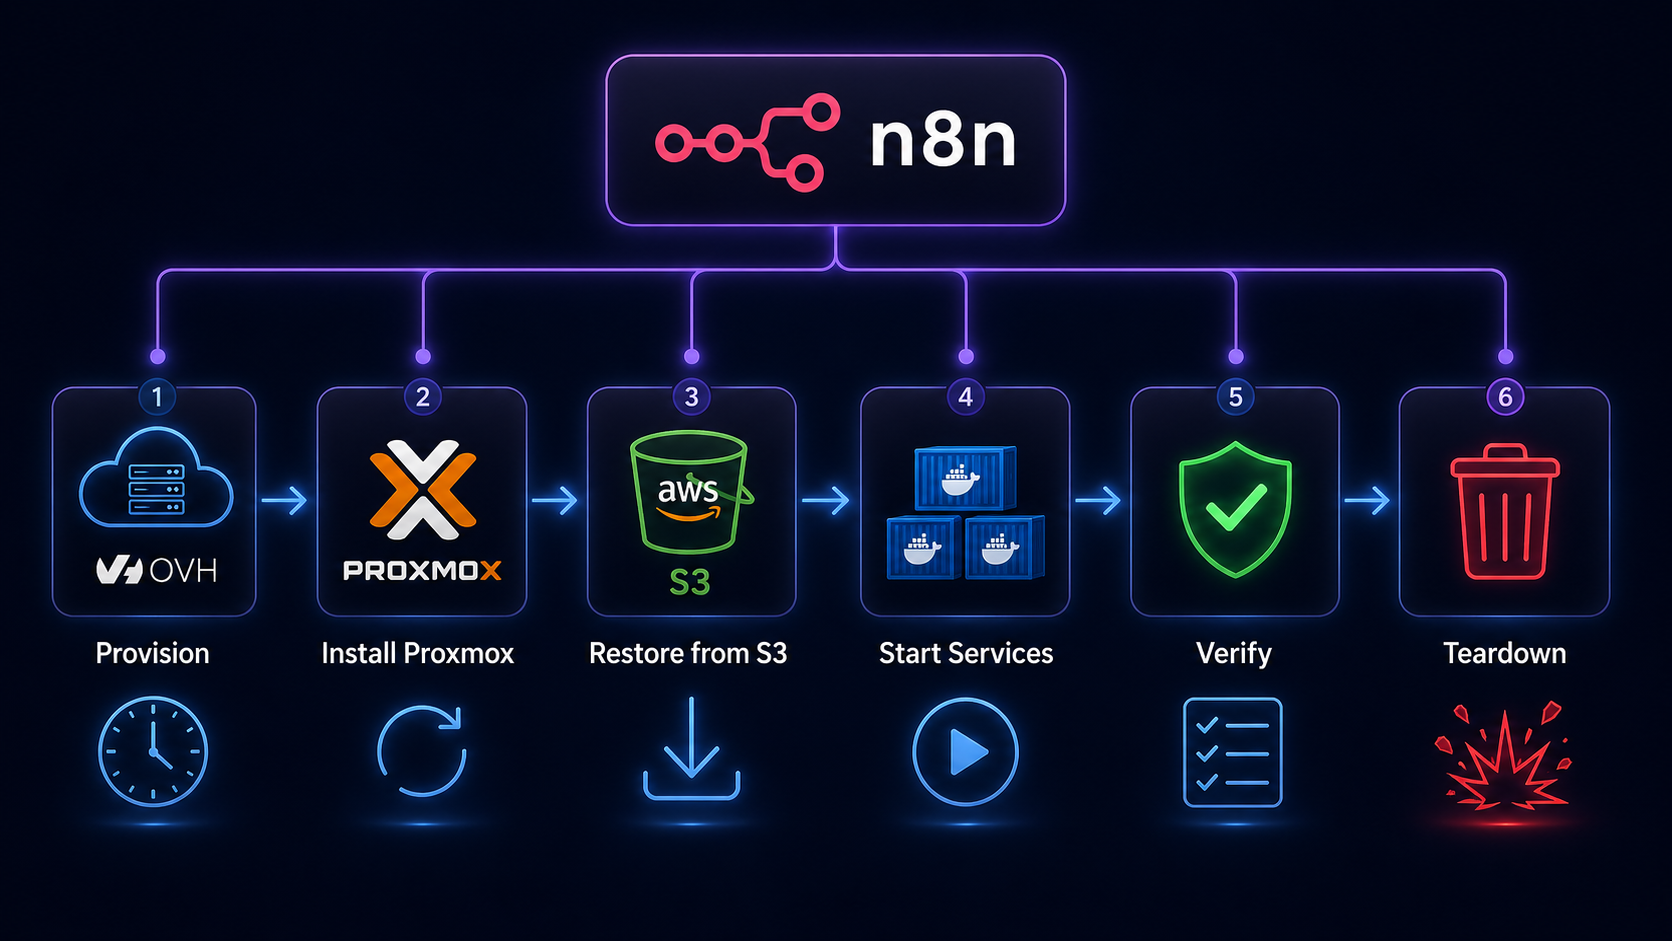
Here’s the journey from start to finish:
Provisioning. n8n calls the OVH OpenStack API to spin up a fresh bm-s1 bare metal server in the UK1 region. It polls until the instance is active, then waits a few minutes for cloud-init to finish before attempting SSH. Bare metal provisioning sounds scary but OVH has the instance ready in minutes.
Proxmox installation. Once the server is up, n8n SSHes in and runs an unattended Proxmox installation on top of Debian 12. Every interactive prompt, from postfix mail configuration to grub device selection, is pre-seeded via debconf so the whole thing runs without any human input. After a reboot, the machine is running the full Proxmox pve kernel. This step alone took me a surprising amount of iteration to get right!
Backup download and restore. The workflow pulls three files from S3: the Ubuntu VM backup (~29GB), the AdGuard LXC backup (~242MB), and a small Proxmox host config archive containing everything needed to rebuild the host layer. Before the download can happen, awscli needs to be explicitly installed as a dedicated step (it’s not present on a fresh Debian 12 image) and skipping this causes the download to fail silently in a very confusing way! The VM restores in under three minutes thanks to the NVMe storage on the OVH instance. Yes, three minutes for 29GB. NVMe is something else.
Service verification. After starting the VM and LXC, n8n runs a battery of health checks via the QEMU guest agent: is AdGuard up, are its DNS rewrites intact, is Traefik running, is CrowdSec running, is Authentik running, are Vaultwarden, Nextcloud, Forgejo, and n8n all up? Every check gets logged.
Data integrity. Beyond just “is the service running,” the test also verifies that real data survived the restore intact, checking that specific known files exist in Nextcloud, that Git repositories are present and have commits in Forgejo, and that the Vaultwarden database is non-empty.
Teardown and report. Once all checks are done, a summary notification lands on my phone via Ntfy with a full pass/fail breakdown. Then n8n shuts everything down, calls the OVH API to destroy the instance, and confirms it’s gone. The whole thing vanishes like it never existed.
The interesting engineering bits
Getting this working end to end involved solving some genuinely tricky problems that I hadn’t anticipated going in.
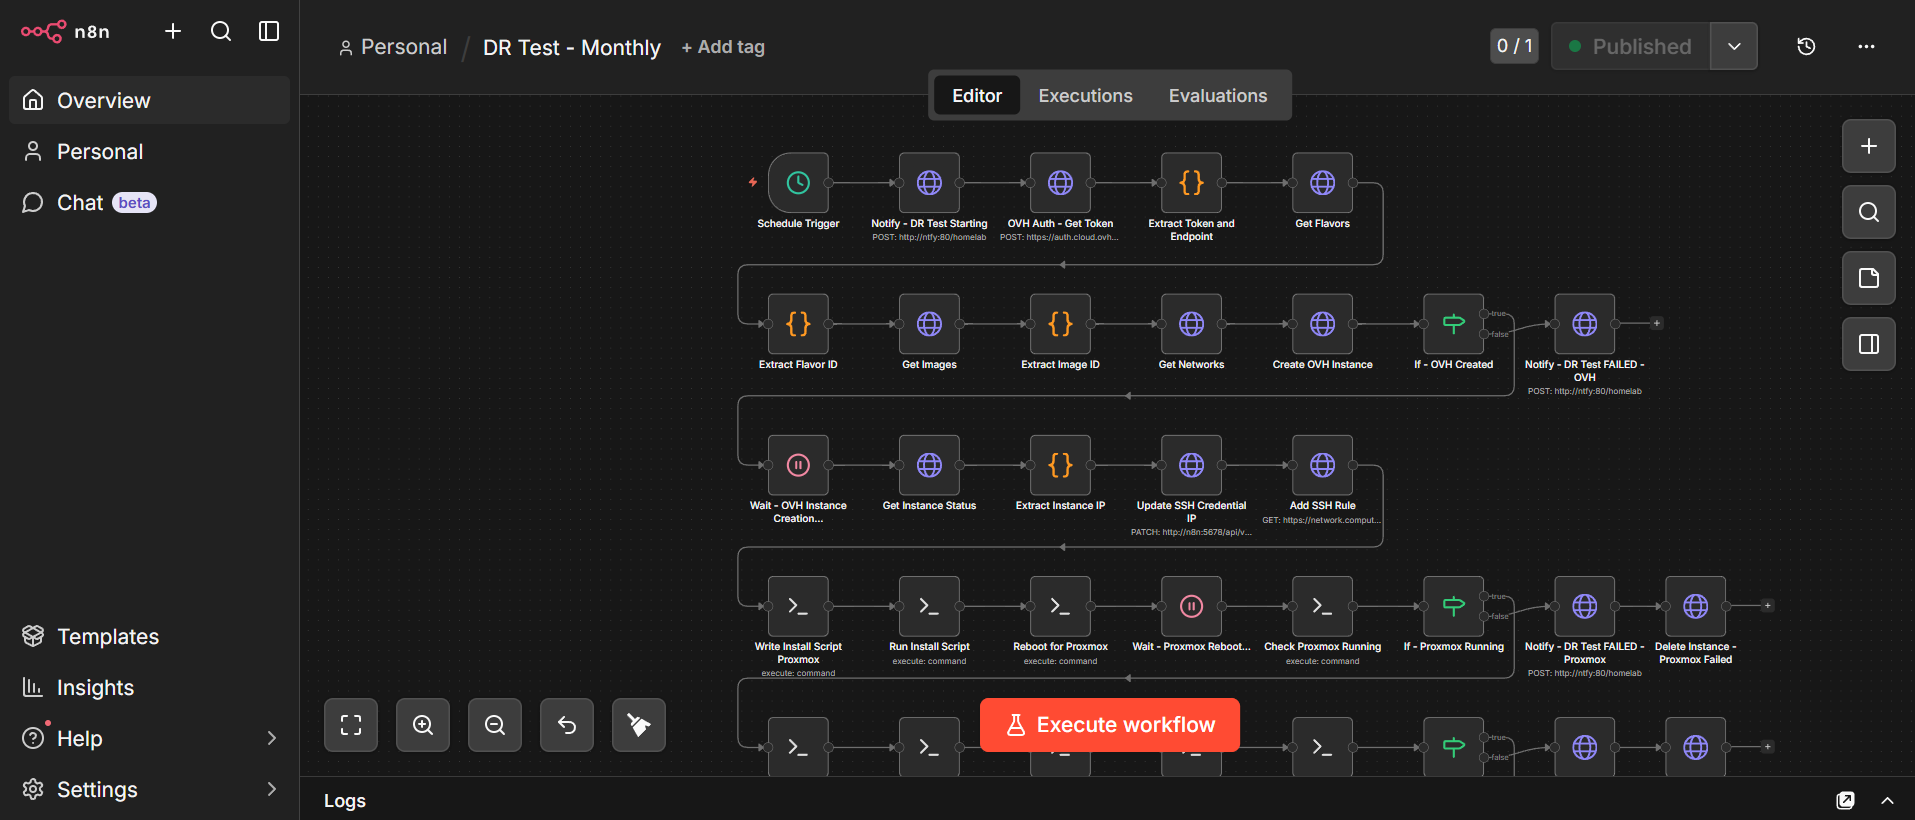
n8n SSH node quirks
The biggest gotcha was discovering that n8n’s SSH node silently swallows heredocs and complex piped commands when using Fixed mode. Scripts that looked perfectly reasonable just produced empty output and exit code 0, with no error whatsoever. The fix was switching every SSH node to Expression mode, and delivering multi-line scripts via base64 encoding: encode the script locally, embed the base64 string in the node, decode it on the remote machine. Ugly but effective.
Another fun n8n quirk: the n8n container itself doesn’t have curl installed. Any HTTP checks running inside the container need to use wget instead. Discovering that one took longer than I’d like to admit! 😅
Dynamic SSH credentials
Each OVH instance gets a fresh IP address, which means the SSH credential in n8n needs to be updated before every run. n8n’s credential store doesn’t support expressions in the host field, so I ended up using n8n’s own REST API to PATCH the credential with the new IP immediately after the instance becomes active. A workflow updating its own credentials mid-run feels slightly mad, but it works beautifully.
Proxmox on a cloud machine
Running Proxmox on top of a cloud provider’s bare metal instance means you’re starting from scratch: no LVM thin pools, no network bridges, nothing. The restore process expects local-lvm storage to exist and a vmbr0 bridge to be present, neither of which are there by default. The workflow creates both before attempting the restore, using the second NVMe disk exclusively for the LVM pool so the OS disk is never touched.
Host config restore and pmxcfs
The Proxmox host config archive contains /etc/pve alongside scripts, AWS credentials, and SSH keys. But /etc/pve is actually a live FUSE filesystem managed by pmxcfs, which locks those files at runtime. Trying to overwrite them with tar causes silent failures. The solution is simply to exclude /etc/pve from the restore entirely: the VM and LXC configs are already handled correctly by qmrestore and pct restore, so there’s nothing useful in that directory that isn’t already covered.
Forgejo data verification
Verifying Forgejo data integrity from inside the VM via the QEMU guest agent involved a subtle gotcha. The git repositories inside the Forgejo container live at /data/git/repositories/, not /data/repositories/ as you might expect. On top of that, running git commands against those repos requires the --user git flag on docker exec, otherwise Docker throws a “dubious ownership” error and refuses to proceed. Both of these are the kind of thing you only discover by actually running the restore and watching it fail!
SSL certificates
One concern with this setup is whether Traefik might try to renew its SSL certificates on the OVH instance, potentially hitting Let’s Encrypt rate limits. In practice this isn’t an issue at all: the restored acme.json contains valid certificates that aren’t due for renewal, so Traefik simply uses them as-is without reaching out to Let’s Encrypt. The backup takes the certificates along for the ride, and everything just works.
AdGuard DNS verification
Verifying that AdGuard’s DNS rewrites are intact turned out to have a subtle shell quirk. The original approach captured nslookup output into a variable and then grepped it, but capturing into a variable strips the newlines, which caused grep to miss the match even when the IP was there. The fix was straightforward: pipe the nslookup output directly into grep without the intermediate variable. Sometimes the simplest solution really is the right one!
What I learned
The most valuable insight from building this is that the restore process is full of assumptions you don’t know you’re making until something breaks. I assumed the VM backup included my data disk. It does, but I needed to verify it. I assumed Proxmox would have local-lvm storage. It doesn’t on a fresh install. I assumed the network bridge would exist. It doesn’t. I assumed awscli would be available. It isn’t.
Each of these would have been a disaster-amplifying surprise in a real emergency. Now they’re documented, solved, and tested every single month.
The other thing I learned is that bare metal cloud is genuinely underused in the homelab community. At €0.50 per hour with proper API lifecycle management, you can spin up a full server, do real work on it, and tear it down for pennies. The OVH bm-s1 is a Xeon with 32GB of RAM and two 960GB NVMe drives. That’s more hardware than most homelabs run on, available on demand, billed by the minute.
What’s next
The workflow is complete, fully tested, and now running on a monthly schedule. Every first of the month, a bare metal server quietly spins up in the cloud, rebuilds my entire homelab from scratch, proves everything works, and disappears again. I get a notification on my phone telling me whether it passed or failed, and then I get on with my day.
What I’d like to add eventually is smarter error handling that can distinguish between different failure modes and give more actionable output in the notification. Right now a failure tells you what broke, but not necessarily why. That’s a nice-to-have though. The core goal, proving every month that my backups actually work, is fully achieved.
Is this overkill for a homelab? Absolutely. Is it the kind of thing that will save my sanity the one time I actually need it? Without question. And honestly, building it was one of the most genuinely satisfying engineering problems I’ve worked on in months. 😄